Your Cart(0
Items)
Yay! Youre getting free shipping!


Yay! Youre getting free shipping!

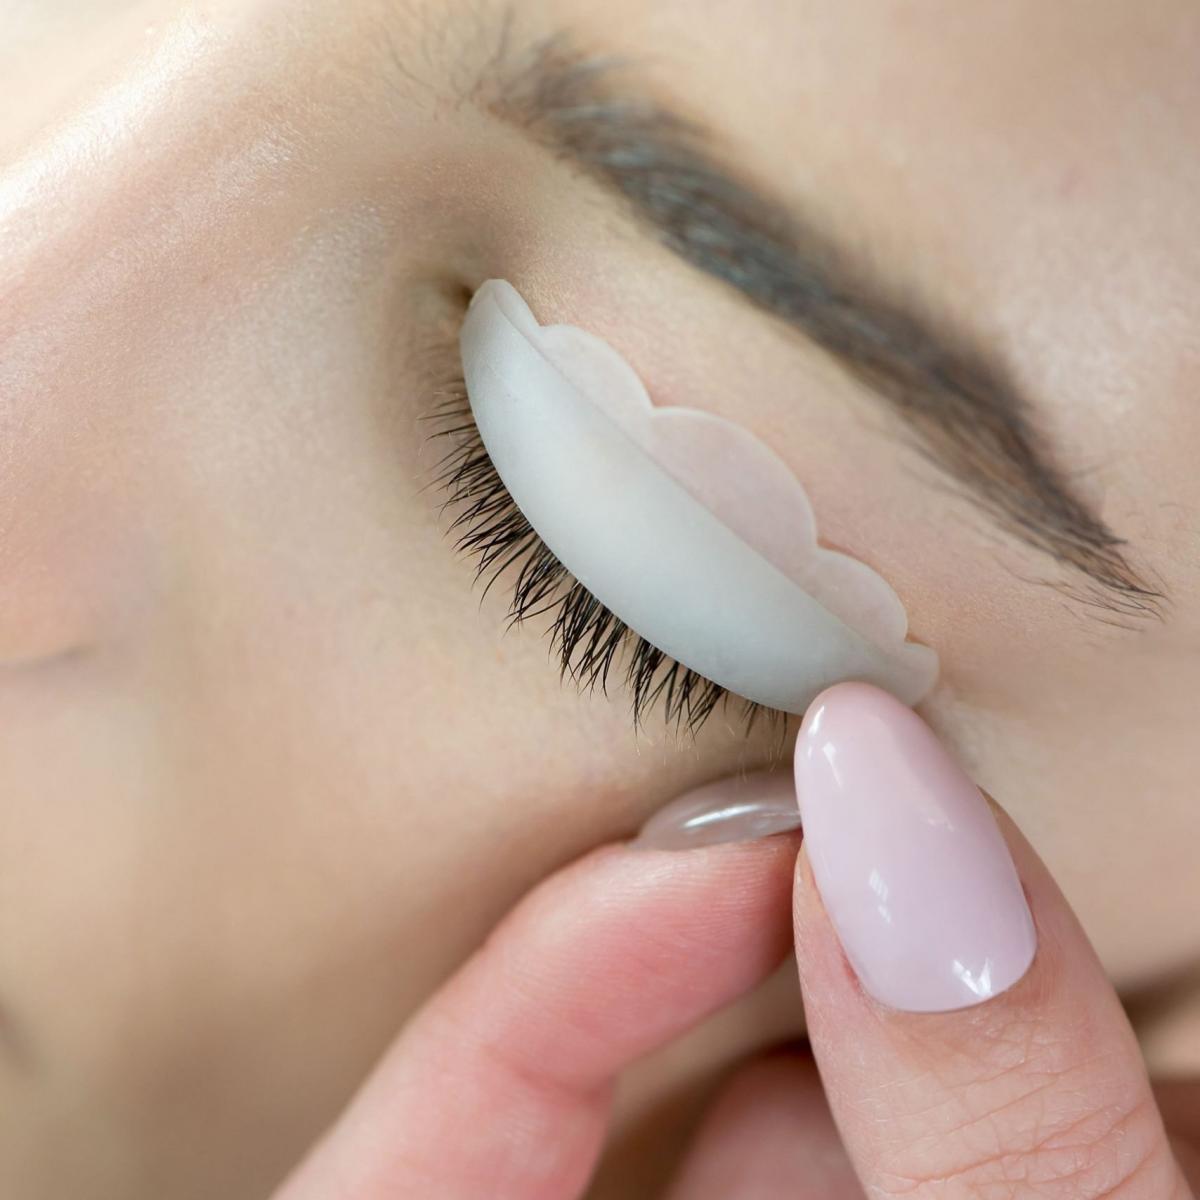
The only way to ensure the best lash lift is by choosing the right silicone pads. For more curled and longer-looking lashes, you need to select a shield that does not suit the length of your current lashes, or else you could end up with over-permed lashes. That’s a look you don’t want to have… trust us!
A lash lift kit comes with multiple lash lift pads. From the Nicky Lash Lifting Kit to the LVL Lash Lift Kit and more, all of them offer at least 5 lash lift pad sizes. Whether you are doing a lash lift at home or getting one done by a professional at a salon, we suggest that you do you read up on the maintenance care, so you don't waste your money.
With that being said, let’s take at what size silicon pads you should use for your eyelash perm:
The size of your lash lift depends on what type of appearance you are going for. For example, if you want a dramatic look, small size will do. If you want a sophisticated look with sweeping lashes, large size will do.
The following information and chart will help you understand how size is chosen:
|
Length |
Sizes |
||||
|
Small (S) |
Medium (M) |
Medium1 (M1) |
Medium2 (M2) |
Large (L) |
|
|
7mm |
Dramatic and most lifted |
Avoid using |
Avoid using |
Less dramatic |
|
|
8mm |
Avoid using |
||||
|
9mm |
Avoid using |
Avoid using |
|||
|
10mm |
Avoid using |
Avoid using |
Avoid using |
||
|
11mm |
Avoid using |
Avoid using |
Avoid using |
Avoid using |
|
|
12mm |
Avoid using |
Avoid using |
Avoid using |
Avoid using |
|
|
13mm |
Will kink from the tips |
Avoid using |
Avoid using |
Avoid using |
High lift due to the length of the lashes |
Let's say that you used a small shield on your client's lashes. When the lift pad is removed, you see the lashes kinking from the tips. Since the adhesive has been applied, there's nothing you can do except clean the lashes and wait for a few weeks. Give the lift another try after some time.
The reason why this happened is that your client's lashes were too long, and you used an extra small shield. A way to salvage this is by not applying the perm solution on the tips, which will compromise the curl.
Many women ask this question when they are doing an at-home lash lift. The answer is "YES!" After one good cleaning, you can use them for 7 to 8 weeks, starting when your first lash lift wears off. If you are using a professional lash lift kit, you will find all the instructions written on the back of the package, or you can read them in the pamphlet that comes with it.
You need to clean your lash lift pads to remove external debris. The next step, which is sanitization, reduces bacterial growth. You should also clean other makeup tools such as eyelash combs, tweezers, etc.
Following are instructions on how to clean your lift pads:
Do not cross the lashes from the roots. This will make the lashes brittle, and you might lose some when the adhesive is removed.
We have already discussed how you need to use the right lifting pad based on the length of your lashes. Following are a few more rules you need to follow to ensure that your lash lift turns out perfect:
In conclusion, choosing the right lift pad size for yourself or your client depends on how long their lashes are what type of look they are going for. For a more dramatic look, the extra small size is perfect for 7mm long lashes. Avoid using this size for lashes between 11mm and 13mm as they will kink. The extra-large is perfect for 13mm long lashes for a more relaxed look.
To get your hands on a professional lash lift kit, visit the Nicky Lashes website. Their Home Edition Kit offers an easy and safe way of getting beautiful lashes at home that last for eight weeks.