Yay! Youre getting free shipping!
You flirt with your eyes. Your eyes are the window to your soul and the lashes… curtains that allow a little peak. Alas, they cannot be tamed. Your signals have gone haywire the times you went to the club and wanted to have some fun. The wedding last week was a disaster! Though you were dressed to the nines, your eyes told a different story. The lashes looked like escaped convicts, taking different turns.
Now, you are worried about the upcoming party because you are meeting the blind date that your friend hooked you up with and the lashes are not obeying. Giving them another layer of mascara feels like a black volcano that might erupt anytime.
Alright, enough with the pity party! Let us give you a happy ending for this sad sack story.
Let’s cut to the chase ― the answer to your crooked and straight lashes is a lash lift and tint.
No, a lash lift is not a lash extension, which most ladies confuse it with. To be honest, we don’t recommend getting lash extensions because they take that natural look out of your lashes. Plus, they are expensive. On the other hand, a lash lift can be done at home and by yourself. It enhances the natural look of your lashes and gives them a gorgeous curl. Lastly, the lift lasts for 8 weeks and you can even apply mascara on your lashes. What more could one ask for?
Now that you know the wonders a lash lift kit offers, here’s how to do a lash lift at home:
Use an oil-free remover or the cleanser from the kit to clean your lashes. Swipe the lashes with a wet cotton ball to remove any dirt. Don’t forget to wipe the eyelids too to make sure that your entire eye is completely dry.
Take a picture of your lashes so that you can compare the lift in the end.
Note: If your eyelid is oily, the adhesive will not work properly and will damage the curl. Check out our blog “Lash Lift Gone Wrong - Here's How to Fix It” if this happens.
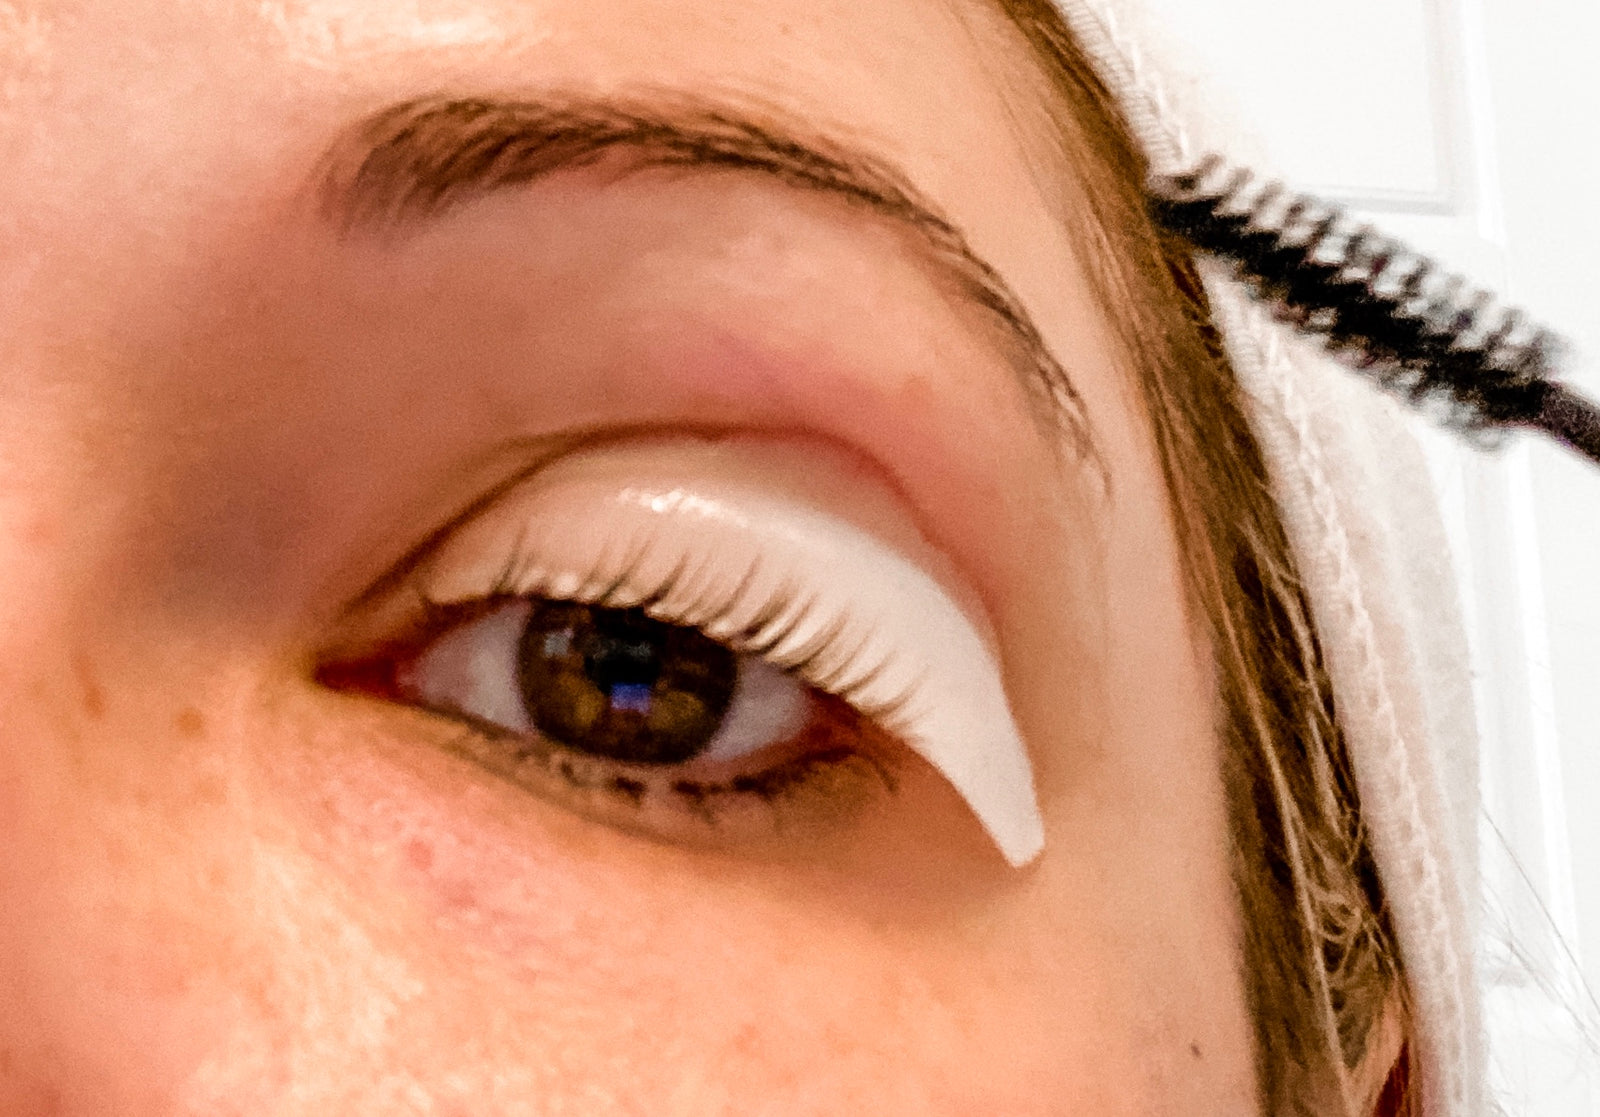
Pick out a lift pad. There are a total of 5 sizes (S, M, M1, M2, L) you can choose from. Apply adhesive on the lift pad’s back and wait 30 seconds for it to settle. Then, place the pad as close as you can to your lash line. Put a little pressure on the pad and hold it in place for 30 seconds.
Use a stick to apply the adhesive on your lashes as you glue them on the lift pad. Wait 30 seconds for the adhesive to settle and then lift the lashes using the lash comb. Make sure they are evenly spaced and straight. Apply more adhesive if needed until they are all stuck down, then let dry.
Place a dollop of perm lotion from the lash lift kit on a cotton bud and swipe it along the lower half of your lashes (lash root area). If the lotion is applied all over the lashes, they will get loose. Cover the lashes with a cling film and wait 12 to 15 minutes, depending on your lash thickness.
Remove the perm lotion with a clean cotton bud without touching the tips of your lashes. Then, repeat the same process with the fix lotion. Cover with a cling film and wait for 8 minutes.
Use the cleanser and a cotton bud to thoroughly clean your lashes of any residue. Make sure that the lashes are completely free of the adhesive or they will over curl in a day or two. Gently remove the pads from your eyelids.
Gently apply the nourish lotion and comb your lashes. Repeat steps 1 to 7 on the other eye.
Wash your face with room-temperature water and dab it gently with tissue paper. Take a picture for your lash lift before and after comparison. Enjoy your long lashes.
You are probably itching to get your lash lift kit right now but we are not done yet! Here’s what you can do next:
Place an eye patch under your lower lashes. Apply the tint on the lashes and leave it on for 3 minutes. Then, clean the tint off with a cotton bud.
Use a cotton bud to apply nourishing oil on the lashes. Let it soak in for 5 minutes and remove the excess with a cotton bud. Use a toothpick to gently lift the lashes from the patch.21
