Your Cart(0
Items)
Yay! Youre getting free shipping!


Yay! Youre getting free shipping!

Take your pick, or have you faced all of the problems mentioned above? There’s nothing to worry about because none of these complications will damage your eyelashes. You simply took a few wrong turns during application, which is why your DIY lash lift didn’t go as you had planned.
Before I tell you about the tips and tricks of lash lifting, check out my blog “A Complete Guide on How to Lash Lift At Home” to know the step-by-step process of doing lash lift and tint. If you are trying a lash lift kit for the first time, this guide will help you avoid any mistakes. In case you still end up making some, the following advice will answer all your questions.
If the lift shield moves even the slightest of inch, your lash lift will not be as effective as shown in pictures. This happens mostly when your skin is oily. The shield dislocates and as a result, the glue moves, changing the direction of your lashes.
To fix this issue, place a small piece of paper tape on your eyelids. This way, when the glue is applied, the shield will stick to the eyelid securely with the help of adhesive. One of the best things about this tip is that you can protect your skin from getting rough and dry due to the glue.
There are four types of placement styles that deliver different lash lifts. They are as follows:
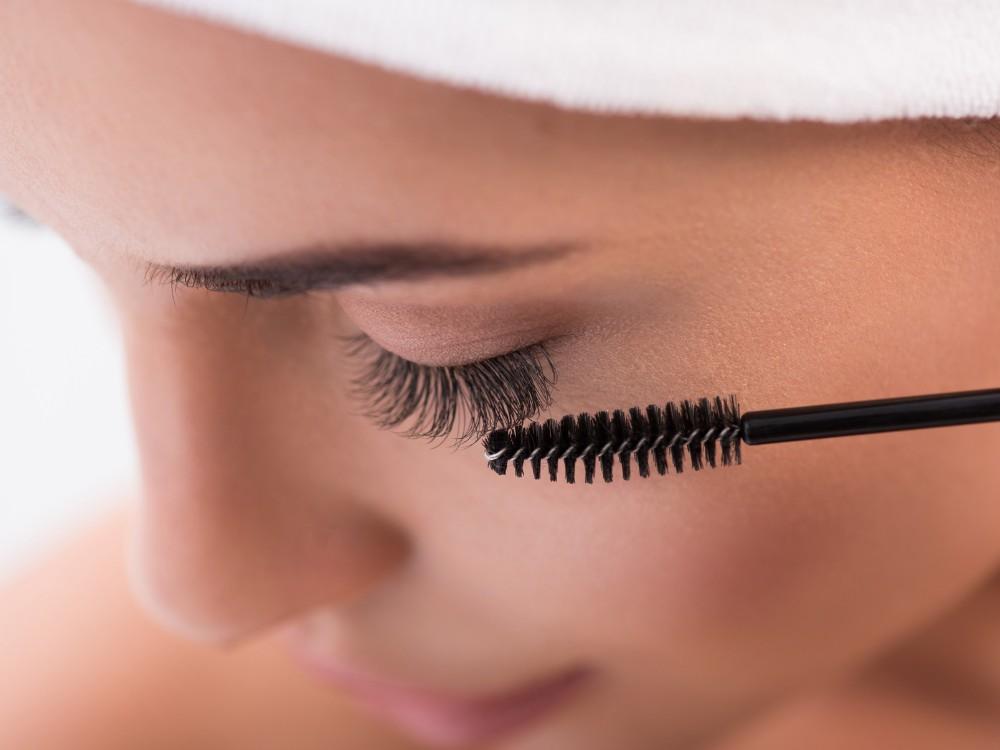
The adhesive used to straighten out the lashes can make them clump together if a large amount is applied. The good news is that the adhesive is water-soluble so you can remove the excess by using a lash pick and then wipe the surface with a dampened piece
Do not breeze through the process! Here’s how much time each step should take:
Applying the adhesive on the lash shield: 30 seconds wait time
Applying the shield on your eyelid: 30 seconds
Applying the adhesive on your lashes: 30 seconds
Applying the perm lotion: 12 to 15 minutes depending on the thickness of your lashes
Applying the fix lotion: 8 minutes
In total, the lash lift process takes about 20 to 25 minutes.
When it comes to lash tinting, less is always more. You don’t want your lashes looking different than your eyebrows or head hair!
Even the smallest touch of tint can leave a color mark on the area. So, make sure to apply pads up, down and sideways. Moreover, start applying the tint from above the lid line to prevent giving yourself a temporary liner look.
Tinting takes about 3 to 5 minutes. When removing it, always wipe the lashes with a dry pad. Then wet another pad to remove any residue and finally wipe the lashes again with a dry pad.
And that’s how you use a DIY lash lift kit the right way! The mistakes I mentioned are pretty common that all beginners make. You simply need to change your tactics and the rest will fall in line. The good news is that if you don’t get your desired effect, you can re-lift the lashes after a few weeks.
Try these tips and tricks and you will see a vast difference in your next lash lift. To get your hands on a lash lift kit, visit the website Nicky Lashes. Their Home Edition Kit offers an easy and a safe way of getting beautiful lashes at home that last for 8 weeks.